
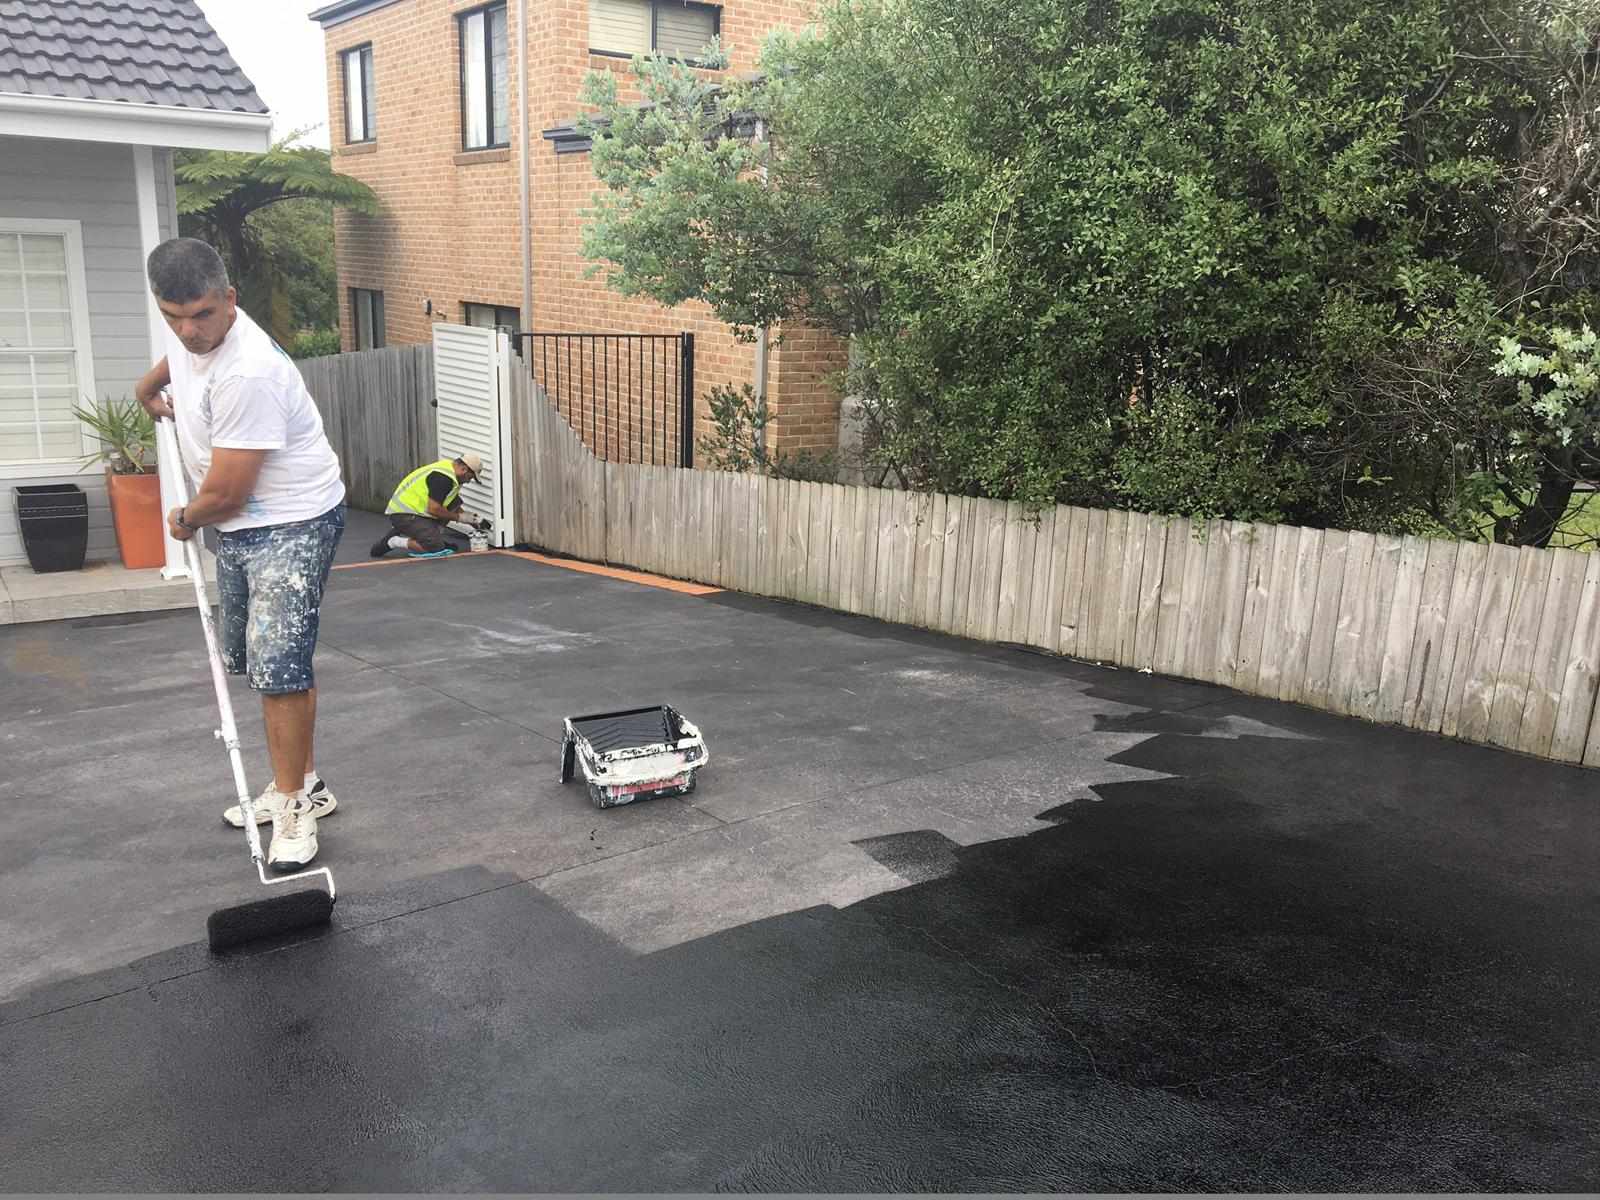
Understanding Waterproof Surface Failure
Waterproof Finish Waterproof surfaces are essential for ensuring that any structure is not damaged by water. However, as those layers of defense start to fail, knowing how you can remove waterproofing membranes properly becomes instrumental in ensuring maintenance work is highly effective. Torn or damaged membranes are the source of water infiltration, mold, and structural problems. Replacing them on time avoids more damage and costly repairs.
Identifying Signs of Damage
Common symptoms of failed waterproofing/asymmetrical cracks in the surface, bubbling in the surface color, and/or paint peeling from the surface. These signals show that water is coming through the membrane and is attacking the substrate. Using the right techniques for waterproofing membrane removal makes it easier to uncover the affected spots and be able to repair and reseal them efficiently. Early footing missing is frequently a prelude to worse damage.
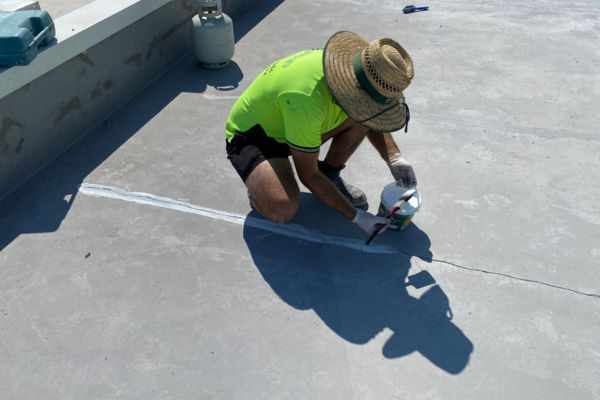
Surface Preparation for Safe Excavation
Once ready to remove the item, it’s necessary to wash and inspect the damage prior to starting the removal process. This can facilitate improved use of the longtime favored techniques to remove waterproofing membrane—mechanical means including tools and chemical solutions. Good prep means a cleaner, smoother, non-damaged removal process that also means less damage to your substrate.
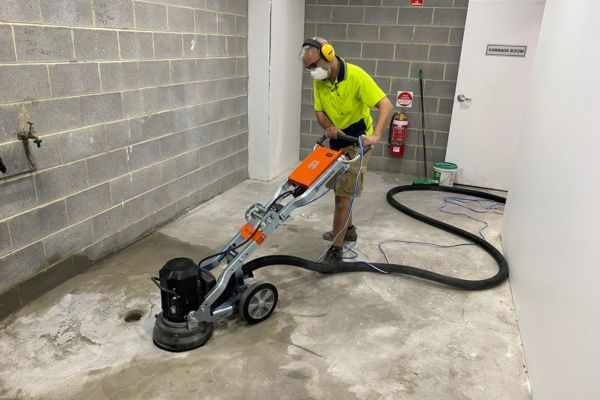
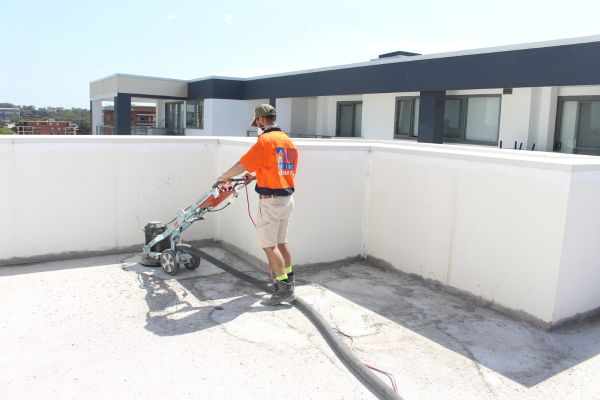
Mechanical Removal Techniques
For thickened or degraded membranes, the mechanical processes of grinding or scraping are often employed. These methods are some of the best ways to remove waterproofing membranes, particularly where accuracy and surface preservation are paramount. The intention is to remove all layers of the defective membrane while keeping the substrate underneath intact for reapplication.
Other Chemical and Thermal Methods
Some chemical solvents or heat can also be used to soften and dissolve old waterproof membranes. There are several option types that are in the list of the top methods of how to remove the waterproofing membrane from the subfloor if it is to work with a fragile subfloor or in the difficult-to-reach corners. Safety measures should, however, be put in place for fumes and residue to be properly handled during the process.
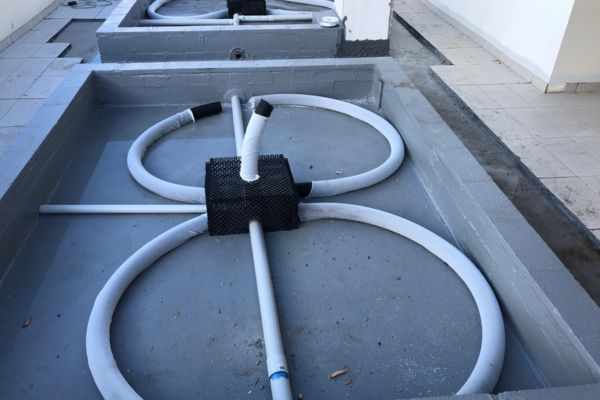
Surface inspection after the removal
When that membrane comes off, it is important to really examine the surface for signs of trapped moisture, cracks, and/or other structural problems. It's simply to ensure that you are working on a dry, clean base before you re-waterproof the installation. This step guarantees that the new protective layer will remain the most durable and protect the strong waterproofing membrane being applied.
Conclusion: The way in which you handle removing old or damaged waterproofing must be a regimented approach with a focus placed on thorough stripping and surface conditioning. Using the best techniques to remove a waterproofing membrane will ensure that all restoration work is able to be successful and will continue to last long into the future. With careful attention being given to the estimation, removal, and replacement stages, you can protect your building from potential water damage problems and help it stay functional and safe as it passes the test of time.


Write a comment ...